
Making the poster
Requirements
The main technical requirement for submitting your poster to the symposium is that it is delivered as a PDF file and in size A1 (portrait or landscape). Size A1 - portrait is 594 x 841 mm, or 59,4 x 84,1 cm, or 23,4 x 33,1 inches and size A1 - landscape is 841 x 594 mm or 84,1 x 59,4 cm, or 33,1 x 23,4 inches.
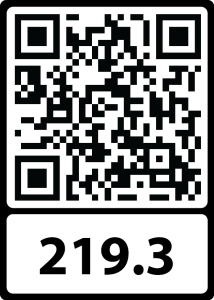 During the semester you will get a tag displaying a QR code and a poster number from the course teacher. The whole tag must appear on your poster, so make sure that you leave enough space in your layout for displaying them. An area of 5 x 7 cm will be enough. Note that you may change the color of the tag if you wish so, but you are not allowed to alter the QR code, nor remove the number under the QR code.
Scanning the QR code will open the webpage of the corresponding poster in your netbrowser. The tag to the right shows an example of a webpage for the poster 219.3 shown in spring 2025.
Design
When making your poster, you are free to use any software or online tool that you find suitable. As a UiB student, Microsoft Powerpoint is free to use via the University's agreement with Microsoft (Microsoft 365, start.uib.no). If you choose anything else than Powerpoint, make sure that you can not only create a document in size A1, but also print this document in size A1. Note that some online tools let you create any document for free, but ask you to pay a fee or to subscribe before producing a PDF file of the document.
Always start your work with setting up the size of the document before you add any picture or text. In Powerpoint, go to Design >> Slide Size >> Custom Slide Size..., choose Custom and set the correct size (see above). Then, check that you can save the document as PDF, or print as PDF, and that this pdf file has the correct dimensions.
Poster templates for Microsoft Powerpoint, Adobe Photoshop and Adobe Illustrator may be downloaded from this page. Note that the templates contain grey areas at the top and the bottom. They correspond to areas of the poster that we use to attach the printed poster on the poster stand. Anything that appears in or replaces these grey areas will be invisible to the viewers.
Finally, do not forget the "necessary elements" of the poster, such as title, author names, UiB logo and the tag with QR code and poster number.
Download poster templates (A1)

Download the UiB logo and emblem

Find help with poster design


Giving constructive feedback to your peers
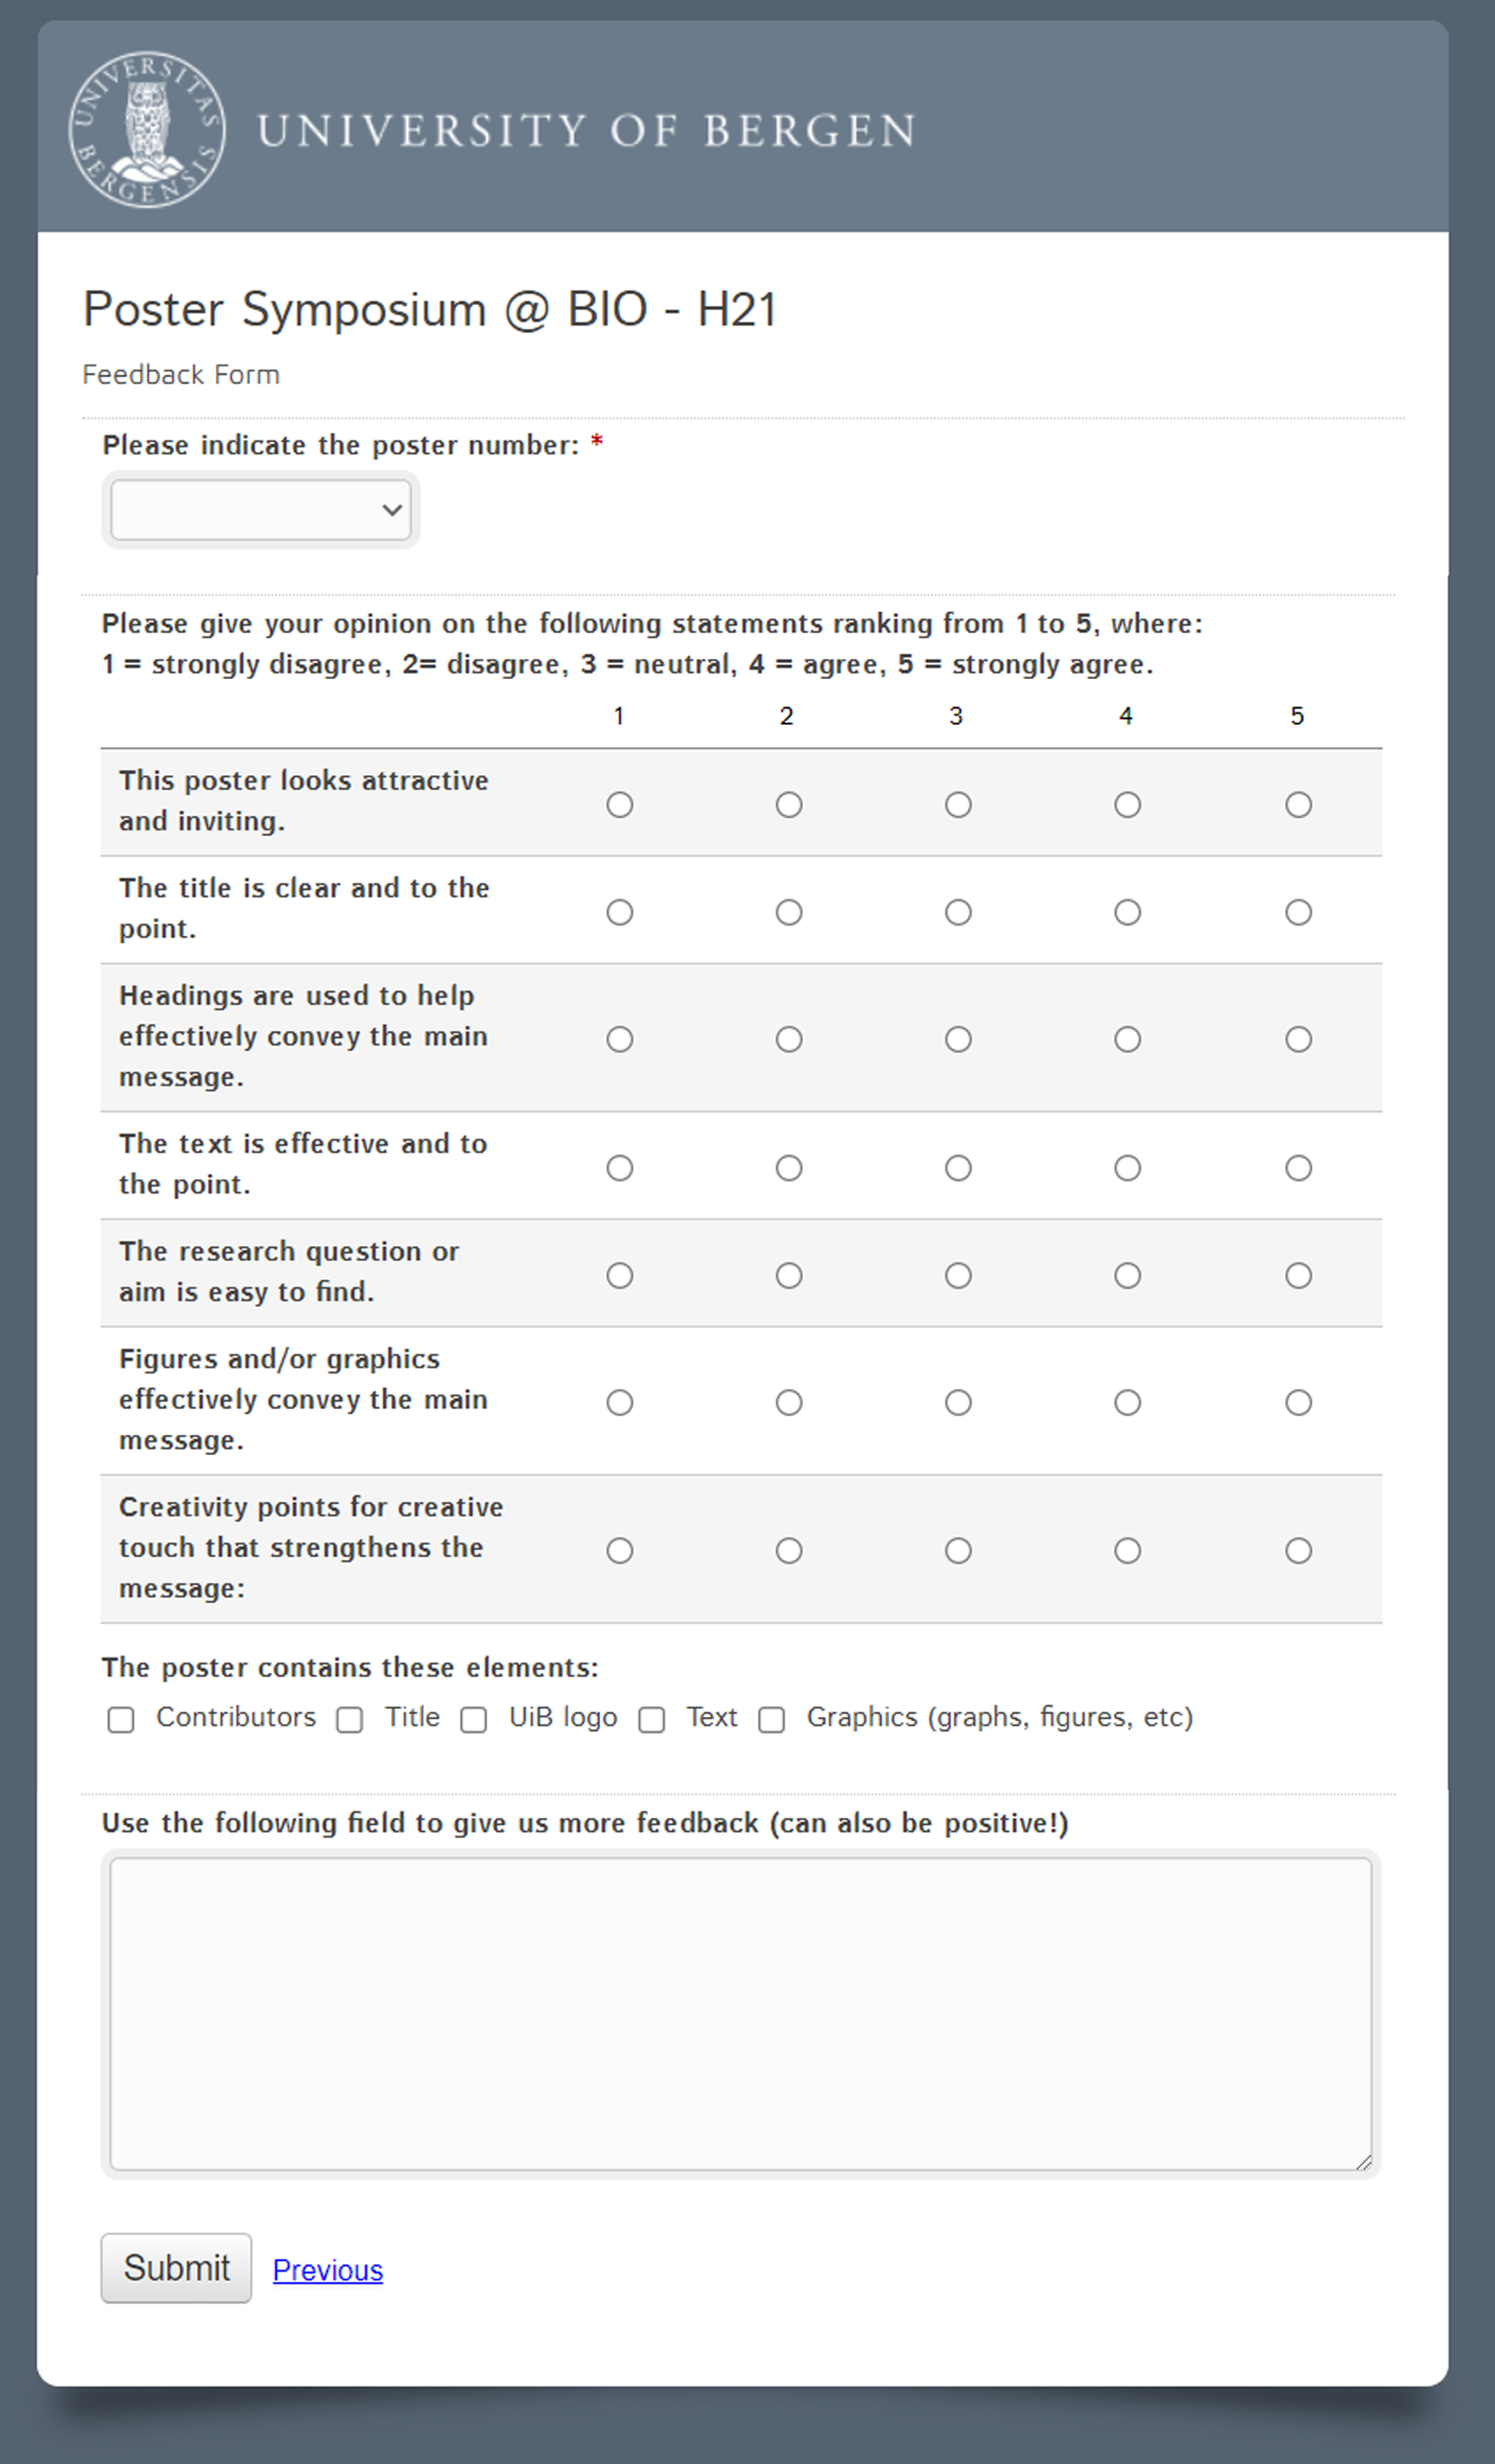
Feedback form (click to enlarge)
During the poster viewing session, you will find green QR codes in various places at the venue. These codes give access to the digital feedback form depicted to the right (click on the picture to enlarge it).
Use this form to give constructive feedback to your peers so that they can learn what you think of their work, what may be improved, and what worked well. The data collected in the forms will be sent to the teachers in the participating courses shortly after the end of the symposium. The teachers will then distribute the results and comments to the authors of the posters.
Link your poster to your CV and showcase your work to those interested
 All student posters will be available online on bioPITCH*. Each poster will have its own unique link, and you can find your poster on bioPITCH by searching for your course/semester or for your name (providing that you have not forgotten to put it on the poster). You will also receive a QR code to place on your poster; this QR code links directly to the webpage displaying your poster (see example at the top of this page).
You are welcome to link your poster to your personal CV, and to future job applications when relevant. This can be a way to present examples of your work, skills and research interests to others who might want more information about your projects.
* if there is any reason for the poster not to be published online (data confidentiality, etc.), please take contact with the course leader before the deadline for handing in the poster.